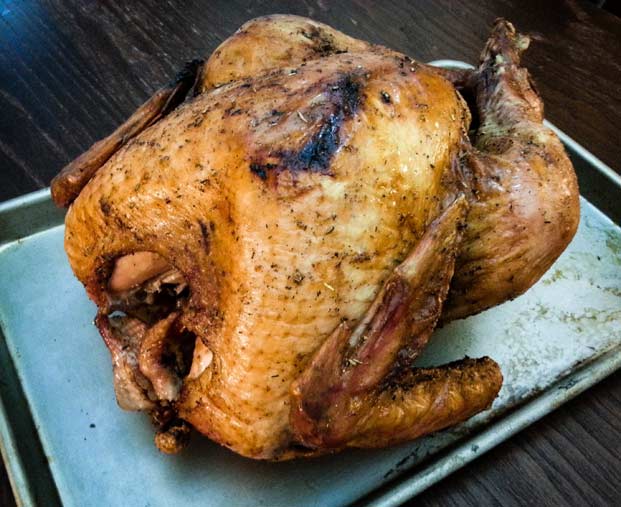
Over the past week, we’ve shared 5 steps to help you get to a picture-perfect turkey. With Thanksgiving only 2 days away, it’s time to bring it all together into this post, our 2012 Complete Guide to Cooking a Turkey with everything from choosing to dry-brining to trussing, roasting, and carving in one place with step-by-step photos to guide you every step of the way.
It’s your year to be a Turkey Ninja, and we’re here to help.
Timing
The rest of this post goes into a lot of detail to make sure you’re well-equipped but if you want to set yourself a schedule ahead of time, here’s what to do:
- 2-3 Days Ahead: Wash, dry, salt, and season the turkey
- Night before or morning of cooking: Remove from fridge, dry, and air-dry in fridge for at least 4 hours or overnight
- 1 hour before cooking: Remove turkey from fridge and allow to come to room temperature
- Cooking: Estimate 15 minutes per pound
- Resting: Allow 30 minutes
- Carving & Crisping: 30 minutes
So, if you want to have dinner at 6pm, aim to have the turkey out of the oven at 5pm and work backwards from there.
Let’s get started.
Choosing a Turkey
First, we need to make sure that we’re starting with the right “raw materials” because our final product is only going to be as good as what we put into it. We wrote an entire post on how to choose your Thanksgiving turkey and our choice was afresh, natural, organic, free-range turkey. If you can afford to splurge on a heritage turkey, by all means do so, but what we recommend is a delicious bird that won’t break the bank. Regardless, our goal in this endeavor is to let the natural flavor of the turkey shine through so buy the best you can afford.
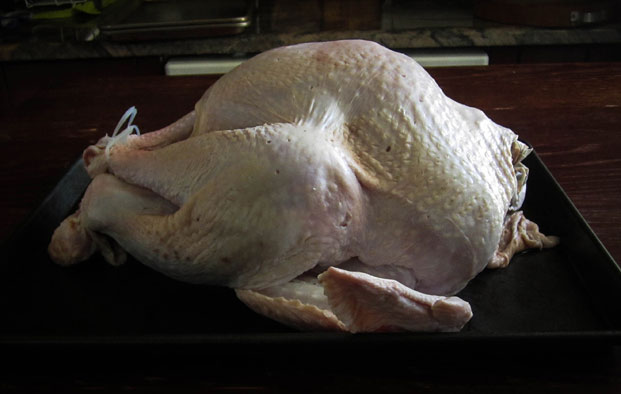
Prepping (2-3 days ahead)
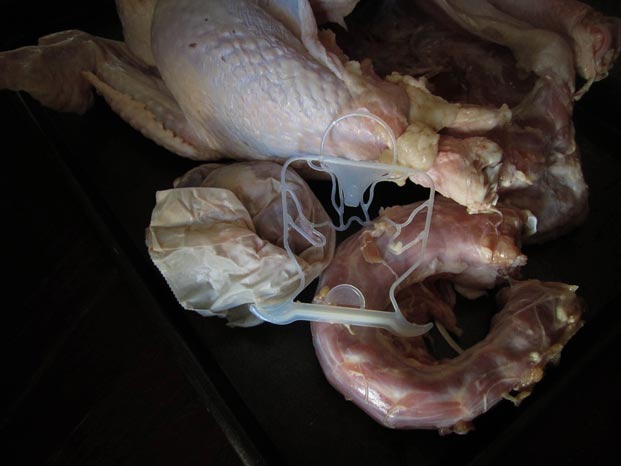
Most store-bought turkeys come with a couple of things that we need to take care of. First, reach into the cavity and take out the neck (it looks like a long curved piece of bone with some meat attached. Set it aside. Then, you may notice a plastic or metal thing holding the legs together, which you need to remove. Unhook the legs then wiggle the hook around until it fully comes out.

Next, turn the turkey with the legs pointing away from you and look for a little bag with the giblets (the heart, liver, etc.). Typically, this is stuffed inside of the neck cavity (which is now facing you), but sometimes it may be inside the main cavity. Either way, set it aside in the fridge if you want to use the giblets for gravy or just throw it away.

When you’re done, you’ll be left with your turkey and 3 other pieces – the plastic hook that holds the legs together, the neck, and a bag of giblets. Your turkey may also have a little plastic plug (what they call a “thermometer”) stuck into the breast. If it does, pull it out and discard.
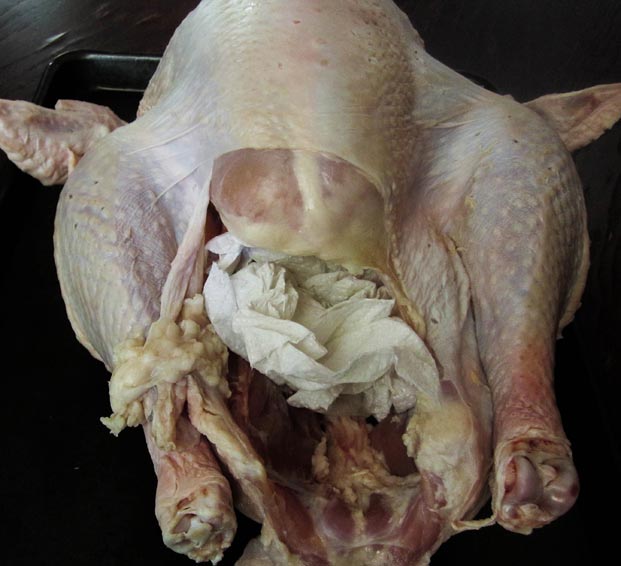
The next thing you need to do is thoroughly was your turkey inside out in the sink with cold water. It’s important to dry it completely, both inside and out. One of the tricks we use to make sure we get the inside totally dry is to stuff the cavity with paper towels and let it sit for a few minutes to absorb every last drip of water.
Dry-Brining
You’ll see a lot of guides out there that praise wet brining as the ultimate technique to getting a juicy and perfectly cooked bird. Don’t forget, there’s also the option to smoke or deep fry your bird (if you’re awesome like that) but for the right balance of final product quality (read: deliciousness) and realistic preparation, our technique for 2012 is DRY-BRINING. You can read all about dry-brining here but here are the basics.
Dry-brining is a technique of liberally coating your turkey with salt and spices for several days in the the fridge. During that time, the salt will penetrate the meat flavoring it down to the bone and causing it to retain its moisture, keeping it juicy during roasting. And, the salt pulls out all of the extra moisture in the skin, meaning that you’ll end up with crispy deliciousness. Here’s how to do it:
First, sprinkle your washed and dried turkey with a liberal amount of kosher salt.
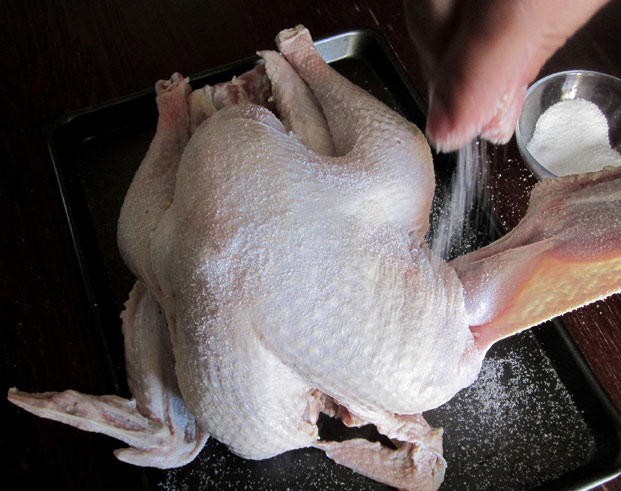
Don’t forget the inside as well.
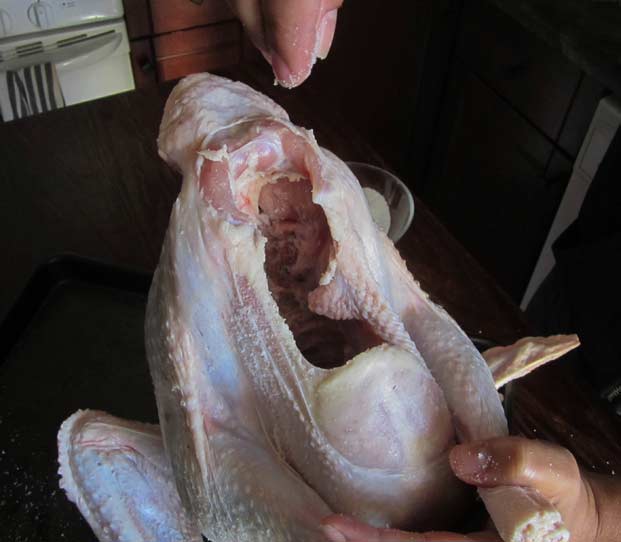
You want to make sure that you can see the granules of salt on the surface.
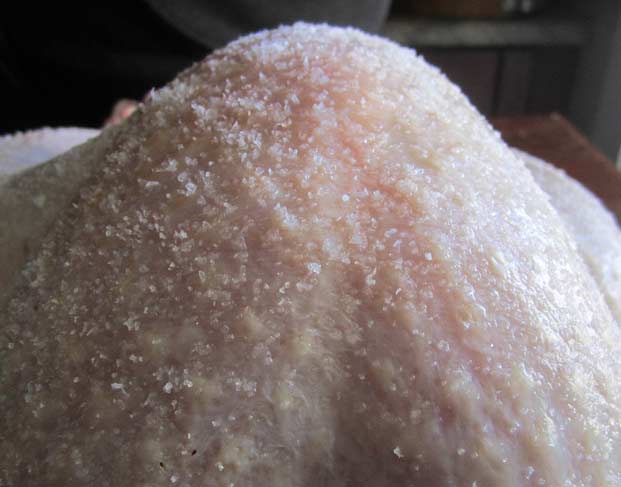
Then, add a coating inside and out of whatever dry rub you like. We used a combo of dried fennel, sage, thyme, and black pepper, but use whatever you like. Rub the spices into the turkey all over.

Put into a clean plastic bag (a brining bag works great for this) and store on a baking sheet or a plate on the bottom shelf of your fridge for 2-3 days. Turn the turkey over every day and drain off any liquid that may be released.
Air-Drying
The next step in the process is to make sure that the skin crisps up in the oven by ensuring that every last drop of moisture is out of the skin. On the morning of Thanksgiving, remove the turkey from the bag and pat dry with paper towels. It may be damp but it shouldn’t be dripping wet. Place the turkey back on a baking sheet or plate and refrigerate, uncovered, for at least 4 hours or up to overnight. The cold dry air of the refrigerator will evaporate any moisture that is left.
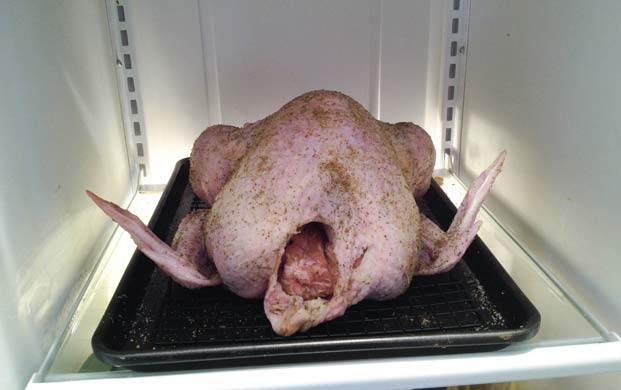
Remove the turkey from the fridge 1 hour before you’re ready to start roasting and allow it to come to room temperature.
Trussing
In order to make sure that the white meat and dark meat cook to the right temperature (and for a beautiful final presentation), trussing is the way to go. By tying up the turkey into a more compact package, the breast meat won’t overcook while the thigh is getting perfect. Here’s how to truss your turkey in under 3 minutes with butcher twine – you can do this as it’s coming to room temperature. No butcher twine? In a pinch, you can use unwaxed (and unflavored) dental floss.
.jpg)
